Shindaiwa 65001 Manuel de l'opérateur
Naviguer en ligne ou télécharger Manuel de l'opérateur pour Tondeuses à gazon Shindaiwa 65001. Shindaiwa 65001 Operator`s manual Manuel d'utilisatio
- Page / 12
- Table des matières
- DEPANNAGE
- MARQUE LIVRES
- Model: 65001 1
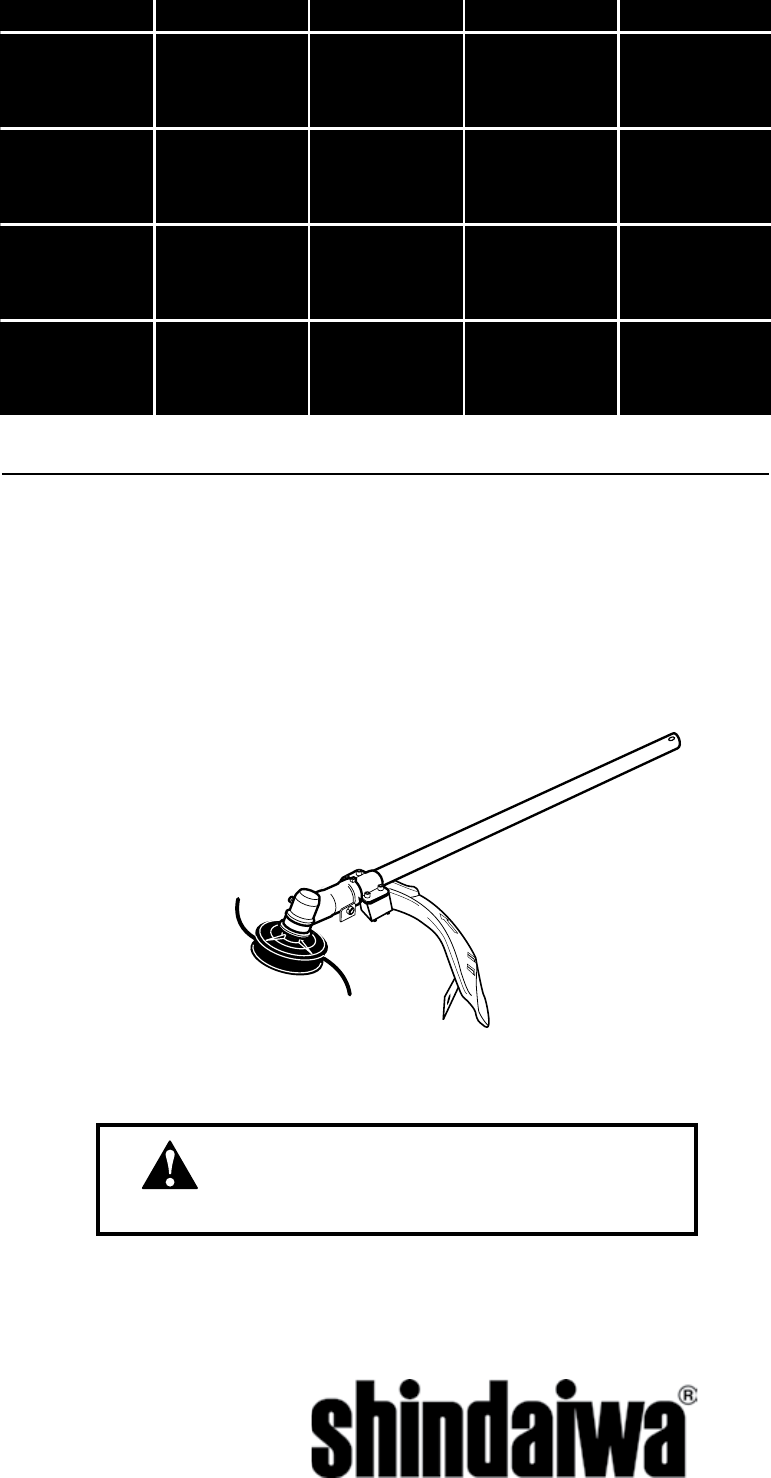
- MULTI-PURPOSE 1
- TRIMMER TOOL 1
- Contents 2
- Introduction 2
- Attention Statements 2
- International Symbols 2
- Operating Precautions 3
- Safety Labels 4
- ■ Cutting Attachment Shield 5
- ■ Trimmer Head 5
- ■ Assembly Tool (s) 5
- Cutting Attachment Shield 6
- Trimmer Head 7
- Operation 7
- 50-hour Maintenance 8
- Maintenance 8
- Troubleshooting Guide 9
- Parts/Serial Number 12
- Consumer Product Support 12
- Warranty Registration 12
Résumé du contenu
Model: 65001MULTI-PURPOSE TRIMMER TOOLSHINDAIWA OWNER’S/OPERATOR’S MANUALX7502880002Minimize the risk of injury to yourself and others! Read this man
10NOTES
11NOTES
ECHO Incorporated.400 Oakwood RoadLake Zurich, IL 60047-1564 U.S.A.Telephone: 1-877-986-7783Fax: 1-847-540-8416www.shindaiwa.com Yamabiko Corporation
2IntroductionThe Multipurpose Trimmer Tool has been designed and built to deliver superior performance and reliability without compromise to quality,
3This machine operates at very high speeds and has the potential to do serious damage if misused, abused or mis-handled. To reduce the risk of injury,
4Safety Labels Figure 1Be Aware of the Working EnvironmentAvoid long-term op-eration in very hot or very cold weather. Make sure bystanders or ob-se
5Product DescriptionMultipurpose Trimmer Tool1342SpecificationsPrior to AssemblyBefore assembling, make sure you have all the components required for a
6Cutting Attachment Shield 1025AGFEDECBInstall the Cutting Attachment Shield.1. Insert the cutting attachment shield (A) between the outer tube and
7Install the Trimmer Head.1. Turn the trimmer over so that the gearcase output shaft faces UP. 2. Remove and discard the plastic retaining plug.3.
8Prior to each work day, perform the following: Check for loose or missing screws or components. Make sure the cutting attachment is clean, free of
9ADDITIONAL PROBLEMSSymptomPossible CauseRemedyTroubleshooting GuideEngine idle too high.Broken clutch spring or worn clutch spring boss.Warped or dam
Produits connexes et manuels pour Tondeuses à gazon Shindaiwa 65001
 (62 pages)
 (52 pages)
 (92 pages)
 (8 pages)
© 2020, manymanuals.fr. Tous droits réservés | 1.109 s |
 Manymanuals.com
 Manymanuals.de
 Manymanuals.fr
 Manymanuals.it
 Manymanuals.pl
 Manymanuals.cz
 Manymanuals.es
 Manymanuals-pt.com
Commentaires sur ces manuels